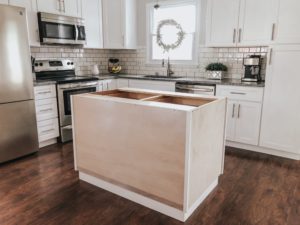
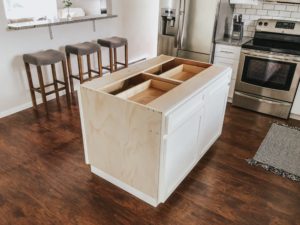
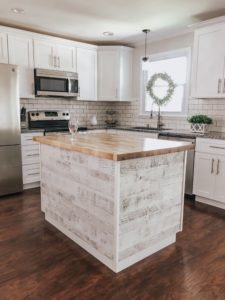
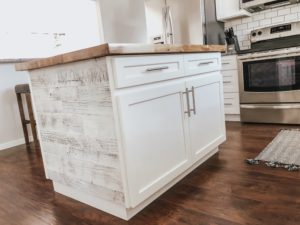
Hi guys I’m back with another fun DIY project that we just completed. You may have already seen our big kitchen reveal here. But, if we are being honest we felt that our kitchen was missing one thing – an Island! I almost don’t even know how we survived without one because it’s all we use now. I am loving the extra counter space. We were able to make our own island by using some cabinets, peel and stick ship lap, and this fabulous butcher block top. (Which we got for such a good deal! Less than $300). I’m a lover of all things reclaimed and of course ship lap, so I thought this would be the perfect opportunity to incorporate some reclaimed wood into our decor! Mike and I did some researching and we found the brand Stikwood! Stikwood is peel and stick ship lap aka the best thing to happen to home decor. A huge thanks to them for partnering with Meshko Moments and providing the makeover supplies for this project.
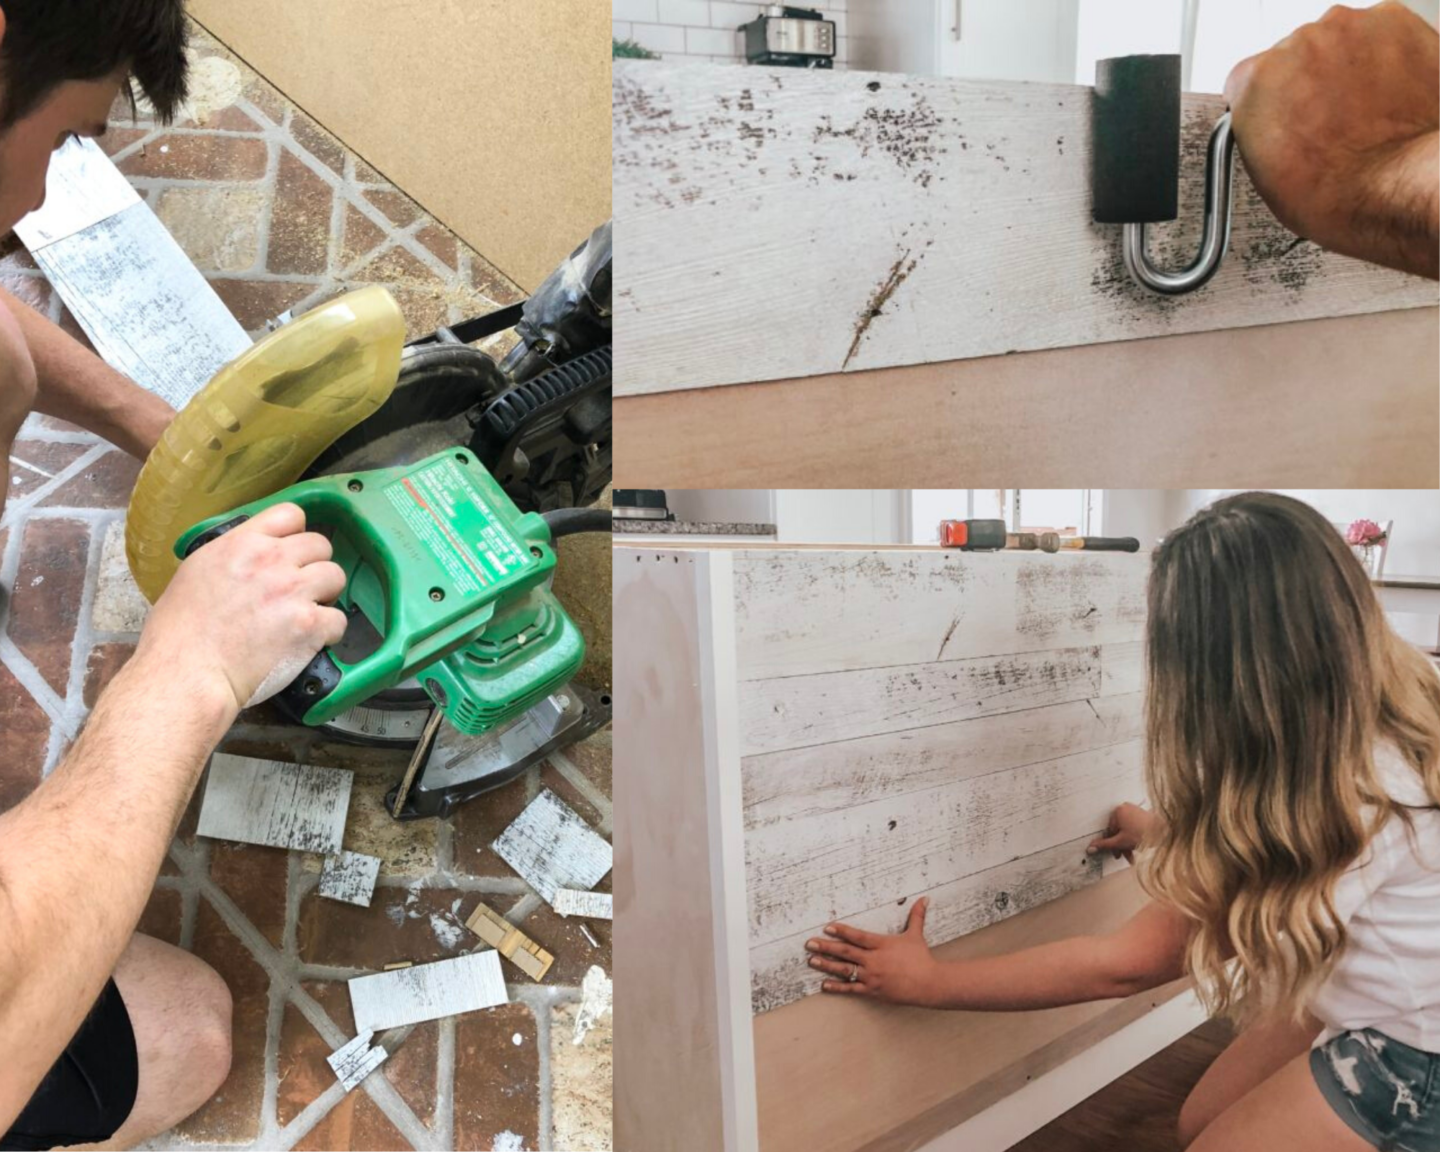
I have to admit, as much as I am obsessed with shiplap I always got intimidated by it. I’d look up tutorials on Pinterest all the time, and they always looked a bit more complicated than I was looking for. Luckily, applying Stikwood is a super fun and extremely easy process. It took us less than 1 day to complete our project of wrapping it around the island. Check out the Stikwood Installation video before you get started to get off on the right foot. The only tools you’ll need are a pencil, saw, and a roller (provided). We used the chop saw to cut down pieces to ensure correct fitting.
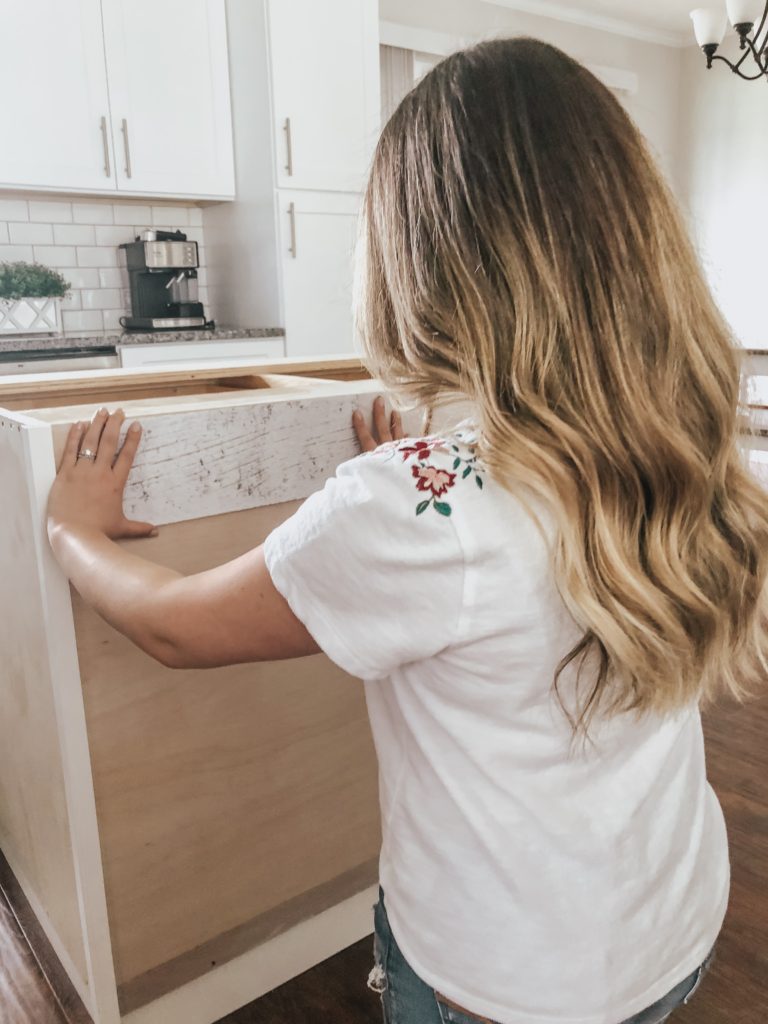
We mapped out our pieces on the floor before sticking them so we could envision what kind of pattern we wanted to follow. Once we had the flow of our pieces we started our project by peeling the paper off of the sticky tabs on the back of the Stikwood, placing the piece firmly on the sides of the island, and then using the roller to ensure the piece sticks. These sticky tabs are extremely sticky, but the roller just ensures it stays in place. Once you place it you can’t move it or take it off. So be careful about your placement. Then you just repeat, repeat, repeat this process until you are finished!
We are so excited about how it turned out. It’s now the focal point of our kitchen and I love the rustic charm it adds. See for yourself below..
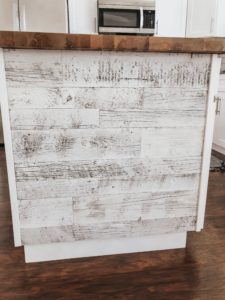
There are tons of different Stikwood options to choose from, and you can’t go wrong with any of them. After much consideration we ended up choosing the Reclaimed Weathered Wood White. I absolutely love it and all of the details of the reclaimed wood are incredible. It’s real pine wood so you could really see the rich wood color beneath the white paint. Every piece is different and each one has so much character. All of the imperfections are just so perfect! The possibilities for project are endless with this product. Besides using it for a kitchen island it also looks amazing as an accent wall, on a ceiling, and behind a bed.
SHOP THE POST BELOW!
Thank you so much for stopping by and checking out our kitchen island project with Stikwood! I hope you have a great week!




Leave a Reply